How to craft bandages in 99 Nights in the Forest
Bandages are a recovery and revive item in 99 Nights in the Forest. The checked route is to find the Tool Workshop / Anvil, select the Bandage recipe, and craft it with Rabbit Foot and Wolf Pelt materials. This page separates checked crafting steps from random loot routes so you can plan revives without relying on luck.
Craft bandages at the Tool Workshop / Anvil with 2 Rabbit's Foot and 2 Wolf Pelt after Campfire Level 4.
PC Gamer is used for the practical Anvil route, requirements, cooldown, and revive handling. Beebom is used to cross-check the Tool Workshop context. Fandom remains an auxiliary source from the previous manual pass because it was blocked by the command-line check on July 1.

Real game thumbnail
Night survival thumbnail
Useful for survival, missing kids, classes, and route-risk pages where night pressure matters.

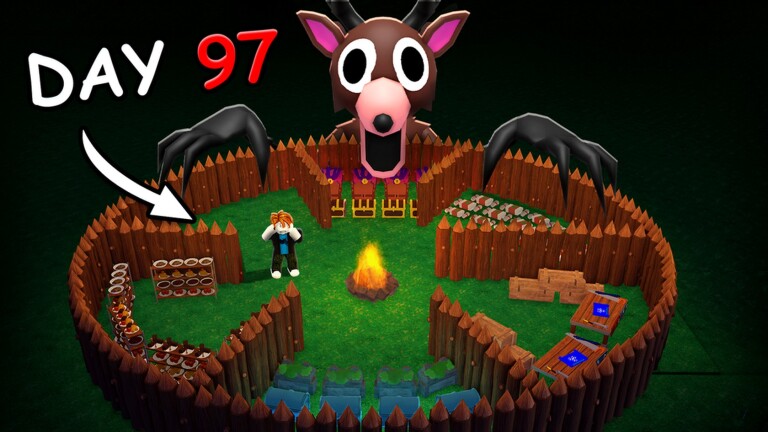
Late-run camp thumbnail
Useful for pages about crafting bench upgrades, camp planning, and late-run survival goals.
Video research signals
Used for demand and visual research. Written facts still need source-checked confirmation.
Bandage crafting requirements
These are the requirements we can safely publish today with source trails. Recheck after major updates because event variants can alter how the workshop appears.
How to craft and use bandages
Follow this in order: unlock the route, reach the workshop, craft one bandage correctly, then save it for revives.
Step
Reach Campfire Level 4 before planning this as a repeatable craft.
Step
Upgrade your axe or bring a chainsaw so workshop branches do not block entry.
Step
Carry enough food and recovery before entering a guarded structure.
Caution
Bandages matter most when you can still recover the route after a teammate goes down.
Caution
If the camp route is unstable, stabilize fire and food before forcing the workshop.
Step
Look for the Tool Workshop building marked with an anvil icon.
Step
Clear the entry and handle nearby enemies before using the station.
Step
If the Anvil is broken, gather the pieces around the building and rebuild it.
Caution
Do not assume every workshop variant is visually identical after updates.
Caution
If enemies or night pressure are active, leave and return when the route is safer.
Step
Interact with the bench beside the Anvil and select the Bandage recipe.
Step
Place 2 Rabbit's Foot and 2 Wolf Pelt on the station one at a time.
Step
If the station says something is missing, pick the item back up and place it again.
Step
Plan around the cooldown instead of expecting instant mass crafting.
Caution
PC Gamer notes a cooldown between crafts, so stockpiling requires patience.
Caution
Treat repeat costs as a manual-review detail until the Fandom material notes can be checked again.
Step
Carry a bandage when the team pushes far from camp.
Step
When a teammate is down, reach them with a healing item and hold the revive key.
Step
Use a bandage for the revive when possible, then save medkits for heavier self-healing.
Caution
You usually cannot self-revive with a normal bandage route, so solo players should heal before dying.
Caution
A rescue during night pressure can turn one downed player into a full wipe.
Step
Save Rabbit's Foot and Wolf Pelt once your Pelt Trader needs are covered.
Step
Check chests, buildings, and hospital-style locations for extra bandages.
Step
Consider Medic in team runs when fast revives matter more than solo power.
Caution
Exploration drops are random, so do not count on a chest supplying every revive.
Caution
Do not use bandages after small fights if the campfire can safely regenerate health.
Best controlled route once you have Campfire Level 4, an upgraded axe or chainsaw, Rabbit's Foot, and Wolf Pelt.
Bandages can show up while exploring, but the result depends on the run.
PC Gamer notes hospitals can contain multiple bandages, a medkit, and other useful resources after enough camp progression.
Medic starts with bandages and revives faster, which is useful for bigger groups but weaker as a solo-first pick.
